DIY Fringe Sweater
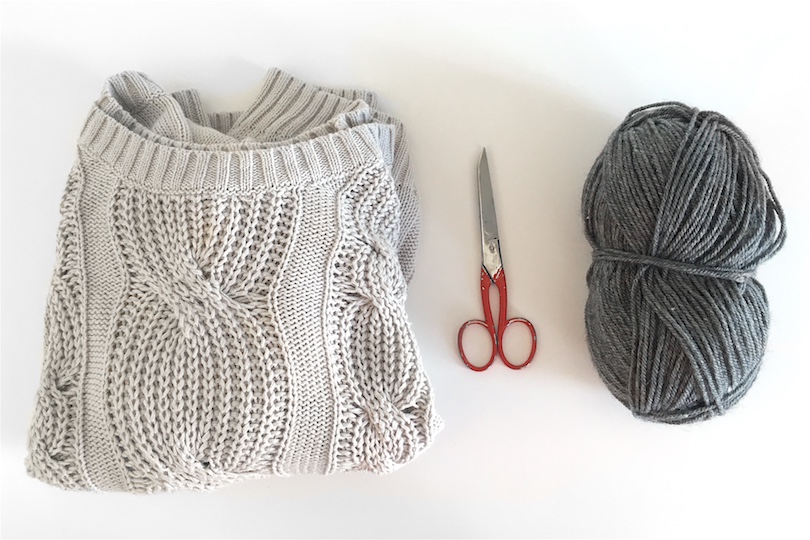
This DIY for a super cute fringe sweater is so easy and the only things you need is a sweater, some yarn and a scissor (and maybe a crochet needle).
First thing you do: Think about the length you want for your fringes, double the length and cut them. You should also figure out how much distance you want the fringes to have from each other.
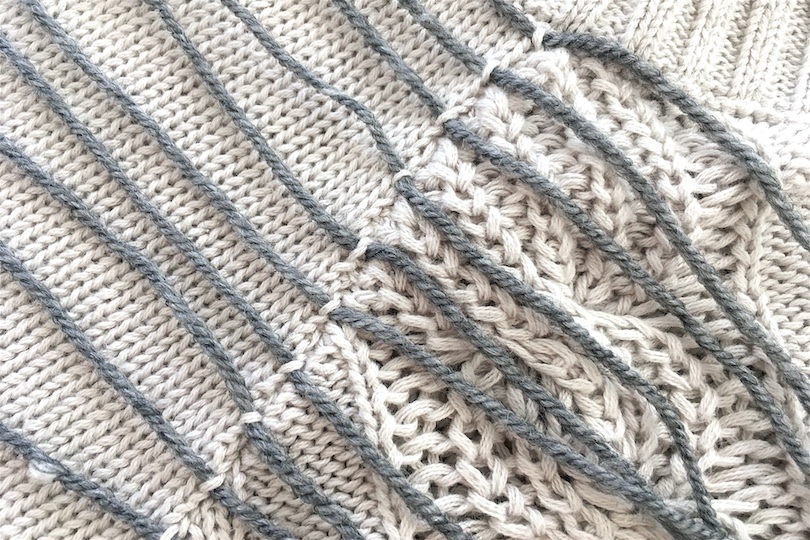
In case your sweater is as tightly knitted as mine, you would also need a crochet needle to thread the string of your fringe through the loop. If yours is a heavy knit, you might be able to do it without a needle…
Here you can see how I would suggest to continue. This way you can see the distance in between the fringes and you are still able to adjust them. And it’s the fastest way to do it too! 😉
Then you simply tie a knot on top of each thread. Your fringe is now fixed and won’t come off after washing it for example.
Last step: Cut the ends of the fringes, so they got the right length and everything looks neat! And you’re done – I love my „new“ sweater and can’t wait to wear it! 🙂
Have a wonderful weekend everyone!!!


No Comments